I was called out for a bid the other day. The person was concerned about their ceiling falling in the basement. When I got there it was clearly a poor installation. Some of the ceiling tiles had fallen and the grid had gaps between the 12 foot main tees and the four-foot tees. Besides being out of level it was apparent that none of the ceiling tees had been riveted to the wall angles. What a mess!
They made it clear that they did not want a whole ceiling installed. Rather they wanted to use the existing pieces and straighten it up. To me it is almost more work to try to fix something that was poorly installed than it is to just rip it out and start fresh. If it was my house I would probably just tear it out and throw it in the dumpster and start over. Nevertheless it is not my property and I don’t make the final call.
The next best thing was what we decided to do pull the tiles and set them to the side. Then we took the meager amount of undersized suspension wires completely off. The eye bolts were large enough but there weren’t enough of them to adequately support the grid system. We added eye bolts as needed and installed new heavier gauge wire.
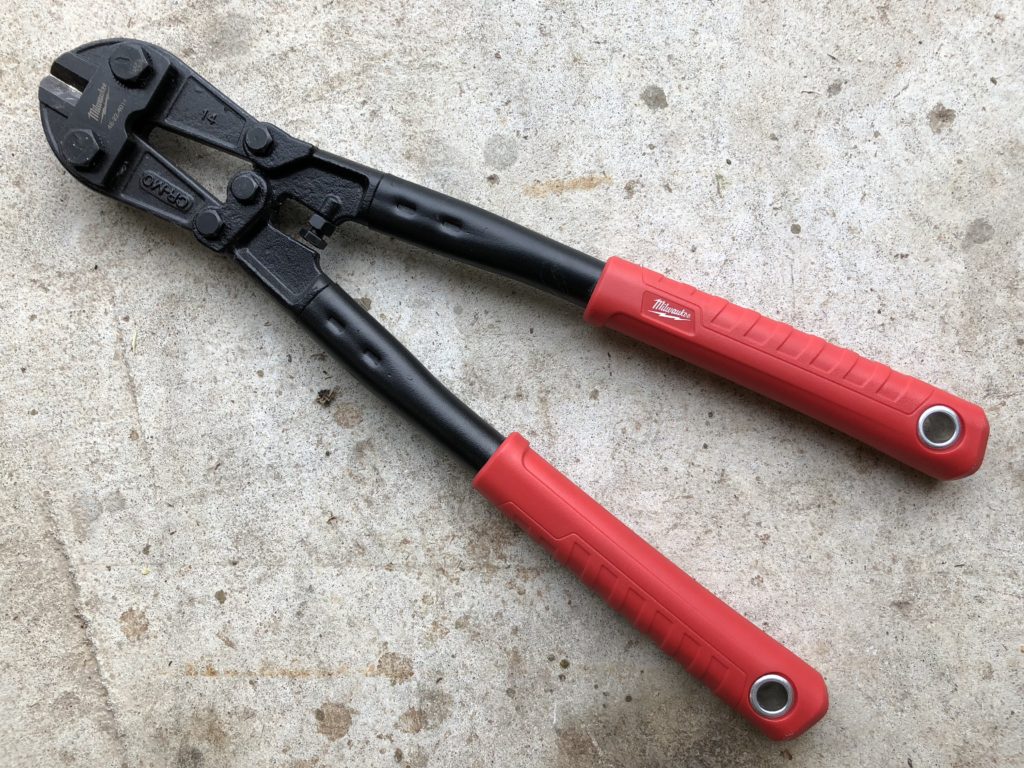
We found the Milwaukee 14 inch bolt cutters to be perfect for cutting this wire. They require much less effort than side cutters or Dykes. They can actually cut larger wire up to 5/16” threaded rod if you need to.
The next step was making consistent level bends in the wire to correspond with the top of the holes in the main tees. This was an easy task because we use laser levels for consistent height. If you set your level at the correct height all you have to do is put your pliers on the wire at the bottom of the laser line and then bend it 90°.
Once the wires are installed and bent at the same level the main tees can be installed to the wires. When completed 4 foot cross tees can be installed between the main tees.
Before the final tees can be cut for the perimeter everything must be squared up. This is very important for fitment of the ceiling tile as well as structural integrity of the whole system. Once you have your grid square it will stay square if you install at least a few rivets on the main tees and wall angles. ( Check your local fire code before installing) This will greatly strengthen the whole system and will keep it from moving when people slam doors and the pressure causes tiles to lift or if there is other movement in the building.
I have used a hand powered pop rivet gun for the last 30 years. The most common size I use is 1/8”. You can clamp the tee to the wall angle and drill them together or you can use a hole punch made just for ceiling grid.
I have never complained about my hand powered pop rivet gun because it always does what I ask of it.
Enter Milwaukee
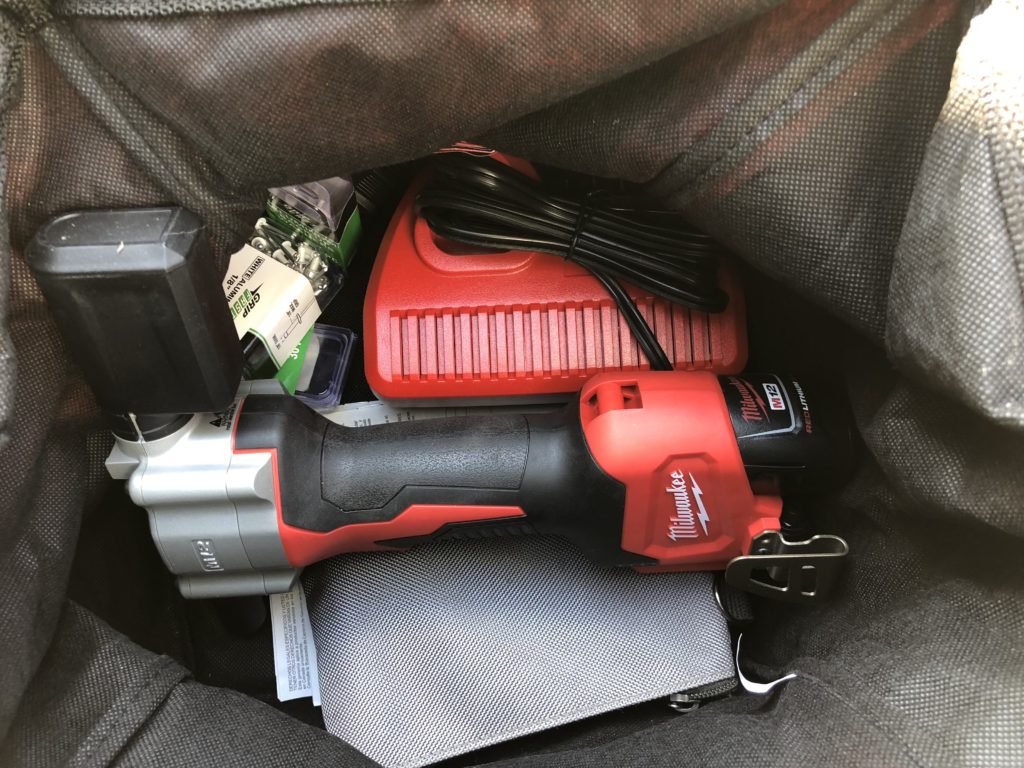
When I first saw the Milwaukee m12 rivet gun I was very surprised! I had never seen or heard of a cordless rivet gun before. The only ones I had seen where hand powered or pneumatic. I had never considered a pneumatic gun because I didn’t feel like running an air hose to install less than 20 or 30 rivets.
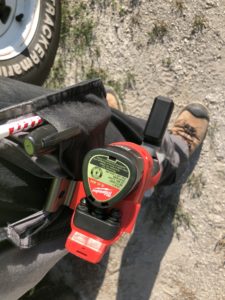
With the cordless m12 Milwaukee now available my thoughts changed. This thing is an amazing little tool that saves a ton of work and time. It is so easy use that anyone can do it. People with smaller hands have no problem installing even larger rivets. In use it is effortless. You simply set the rivet in the opening of the gun then insert it into the hole and pull the trigger. It is so fast and smooth that you’ll be done before you know it. There is a little catch bin for the stem. Be included 1.5 amp hour battery has enough power to install 450 1/8” rivets. Imagine how your hands and wrist feel after installing just 30 rivets by hand and you can see the benefits of this tool for those who install a lot of rivets.
This is one of those tools I never knew that I needed until I have one to use. If you install any amount of rivets I think this is definitely worth a shot. They are available in kit form from the ACME TOOLS .
Milwaukee M12 12-Volt Lithium-Ion Cordless Rivet Tool

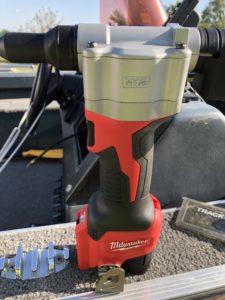
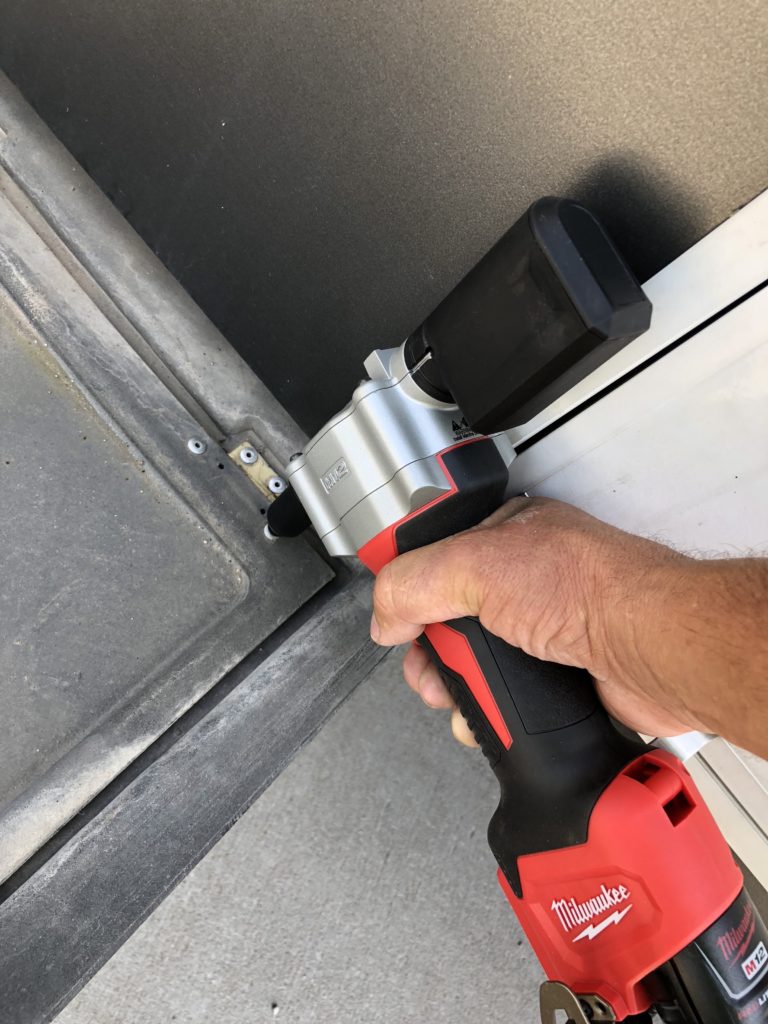


I do sheet metal work and have wanted a cordless riveter for a long time but couldn’t justify the high cost of 700 dollars and up for a good one. I’ve been using a pneumatic one, a pain dragging a hose and compressor just for one tool, than I saw the Milwaukee cordless riveter very inexpensive and the thing works far better than my pneumatic one. One pull of the trigger vand it sets the long rivets I use with ease. I just love it ??.
Dang. This rivet gun is sick. I had no idea they made this. I was just riveting up some odd angles up high and it was tough to have 2 hands on my hand powered rivet tool. This woulda been sweet. @goldman